Because blurry pictures of mystery objects won't help you find shit later.
Ok focus on the task at hand - you're not trying to win a photography award here. You just want to be able to look at a photo six months from now and actually know what the hell you're looking at.
Taking useful photos for Stashdog is way easier than you think. You don't need fancy equipment or artistic vision - just a few simple techniques that'll transform your chaotic photo collection into an actually helpful visual inventory.
Why Good Photos Matter
Good photos mean:
- You can actually recognize your items when browsing
- Other people can help identify things when you share
- Insurance claims become way less of a nightmare
- You stop buying duplicates of things you already own
Lighting: The Make-or-Break Factor
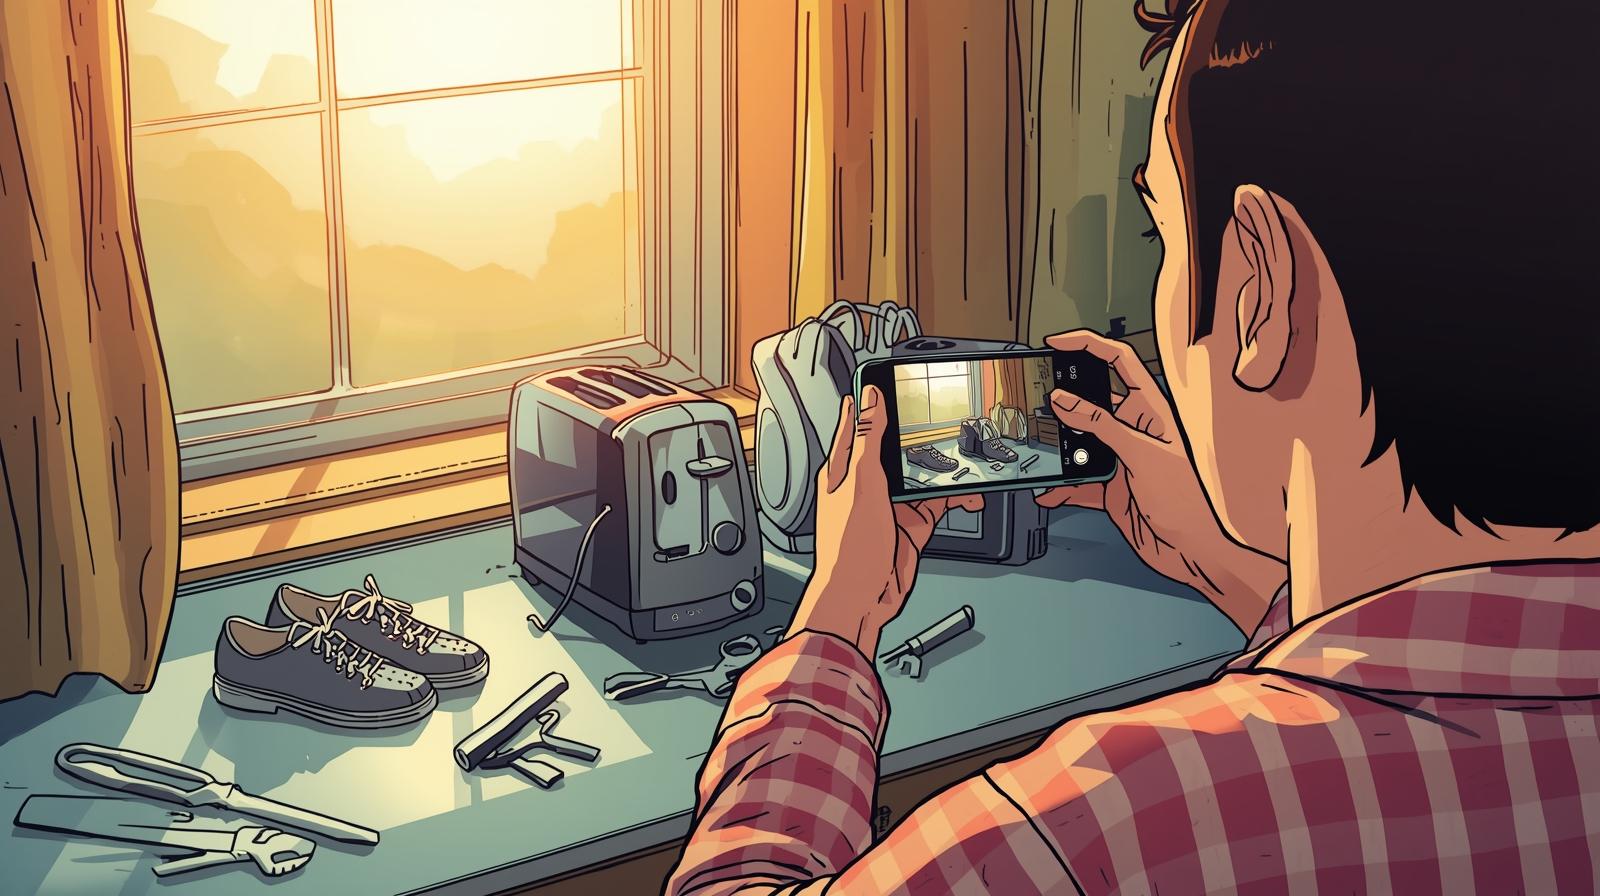
Natural Light is Your Friend The best photos happen near a window during the day. That's it. Move your item near a window and watch the magic happen. Natural light makes colors look accurate and shows details clearly.
When Natural Light Isn't Available:
- Turn on ALL the lights in the room
- Avoid using just your phone's flash (creates harsh shadows)
- LED bulbs give better color than old incandescent ones
Background Basics: Keep It Simple
Best Background Options:
- White or light-colored wall
- Clean counter or table surface
- Large piece of white paper or poster board
- Your bed with white sheets (surprisingly effective)
Background Disasters to Avoid:
- Busy patterns that compete with your item
- Dark surfaces that make items disappear
- Cluttered backgrounds full of other stuff
Quick Tips for Common Item Types
Electronics & Appliances:
- Include model numbers and brand labels
- Show ports, connections, and controls
- Include any accessories or cables
Clothing & Textiles:
- Hang items up or lay them flat (no bunched-up piles)
- Include care labels and size tags
- Natural light makes fabric colors accurate
Tools & Equipment:
- Clean off dirt and grime first (seriously, just wipe it down)
- Show the business end (blade, bit, working surface)
- Include any model numbers or brand markings
Small Items & Parts:
- Get close enough to see details clearly
- Include something for scale (coin, ruler, your finger)
- Group related items together in one shot
The "Phone Photography" Cheat Sheet
Before You Shoot:
- Clean your phone's camera lens (it's probably dirty)
- Hold your phone steady (use both hands)
- Get close rather than zooming in
- Take multiple shots from slightly different angles
Phone Settings That Help:
- Turn on grid lines to help with composition
- Use HDR mode for high-contrast scenes
- Turn off digital zoom (just get physically closer)
Common Photography Mistakes (And How to Fix Them)
Mistake: "I'll just take one quick blurry photo" Fix: Take 30 seconds to get decent lighting and hold steady
Mistake: "Close enough" focus Fix: Tap your phone screen to focus on the important part
Mistake: Taking photos in terrible lighting "just to get it done" Fix: Wait for better light or move to a window - it's worth it
The Batch Photography Strategy
If you're adding a bunch of items at once:
- Choose your spot: Near a window with good light
- Set up your background: White poster board or clean surface
- Gather your items: Process similar items together
- Create an assembly line: Photograph, then immediately add to Stashdog
- Quality check: Review photos before moving items away
The Real Talk Section
You're not going to take perfect photos of everything. That's fine. The goal is "useful," not "beautiful." A decent photo taken in 30 seconds is infinitely better than the perfect photo you never take because it seems too complicated.
Start with the items that matter most to you - expensive things, frequently used things, or things you actually lose regularly. Build the habit with high-value targets, then expand from there.
Your Photography Action Plan
- Start simple: Pick 5 items you care about and photograph them well
- Find your lighting: Identify the best natural light spot in your home
- Set up a basic background: White poster board costs $2 and lasts forever
- Practice the basics: Focus, lighting, steady hands
- Batch process: Set aside time to photograph multiple items at once
The difference between a helpful photo and a useless one often comes down to just taking a moment to do it right. Your future self (frantically searching for something important) will thank you for those extra 30 seconds of effort.